Customer Settings
Click on the nickname in the upper right corner of the platform to enter the customer settings from the opened menu.
Customer Basic Information
Section titled “Customer Basic Information”Only the administrator account of a customer can access the customer settings page. The company information set here will be synchronized to the settings of all sub-users.
Customer basic information include superior customer, type, company name, contact person, contact phone, email, address, accept transfer, customer unique code, region, address resolution.
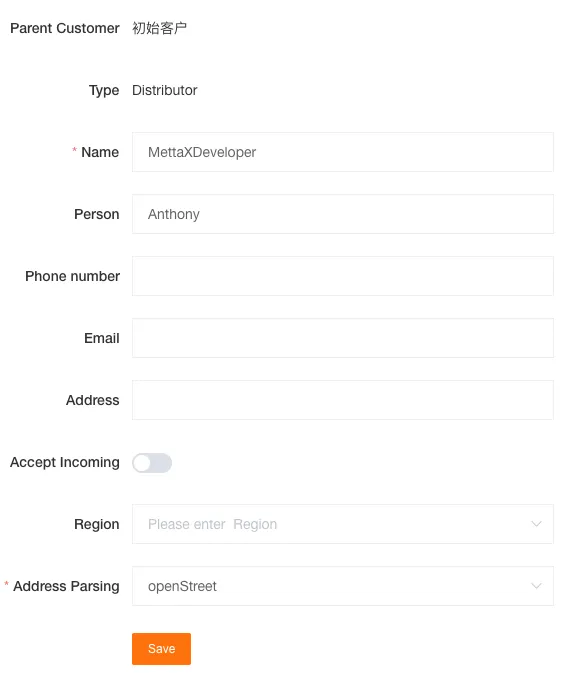
Region
Section titled “Region”It will be applied to the map display (only effective for Google Maps).
Address Resolution
Section titled “Address Resolution”The default is OpenStreet. If Google is selected, a valid Google API Key must be provided.
Accept Transfer
Section titled “Accept Transfer”When enabled, the platform will generate a customer unique code; subsequently, this code can be used to receive sales devices from other customers.
Application Settings
Section titled “Application Settings”Used to enable access to the developer module and fleet module for the current customer. Once enabled, they can be accessed from the module switching menu in the upper right corner of the platform.
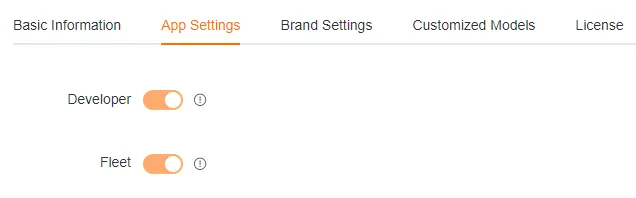
Developer Module
Section titled “Developer Module”When enabled, you can use the developer module for secondary development to integrate your application with the platform.
Fleet Module
Section titled “Fleet Module”When enabled, you can use the Fleet module to manage the company’s fleet, including vehicles, personnel, costs, and routes.
Branding Settings
Section titled “Branding Settings”You can customize branding information such as Logo, platform name, default language, and theme color based on the domain name.
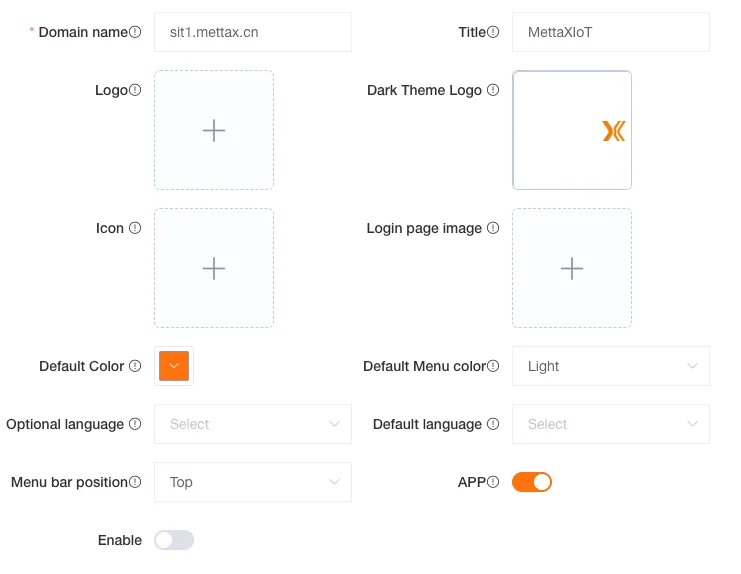
Domain Name
Section titled “Domain Name”Enter your company’s website address to customize the platform with your branding.
| Do | Don’t |
|---|---|
Enter the domain name. www.example.com | Do not include the transfer protocol. http://www.example.com |
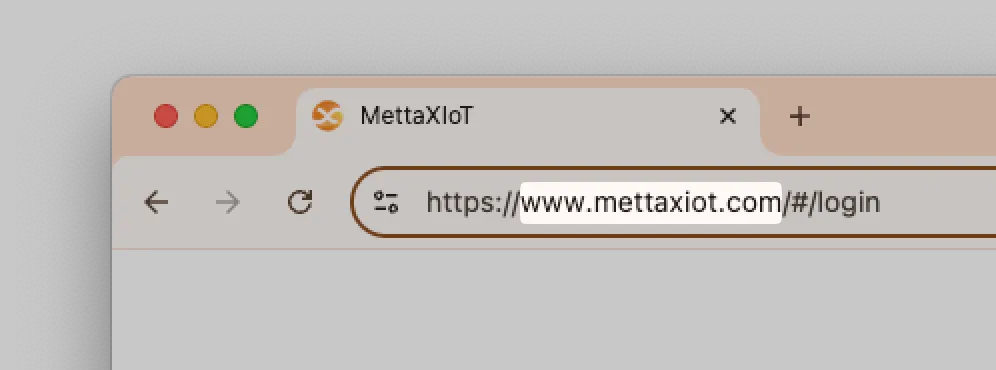
Enter your brand name. It will be displayed as the title in the browser tab.

Upload an icon to be displayed in the browser tab.
![]()
| Attribute | Value |
|---|---|
| Format | ICO |
| Dimensions | 50px × 50px |
| Maximum file size | 1MB |
The logo will display on the login page and in the top-left corner of the platform.
![]()
Upload separate logo images for Light mode and Dark mode. You can use the same image for both.
| Attribute | Value |
|---|---|
| Format | PNG |
| Dimensions | 1000px × 150px |
| Maximum file size | 1MB |
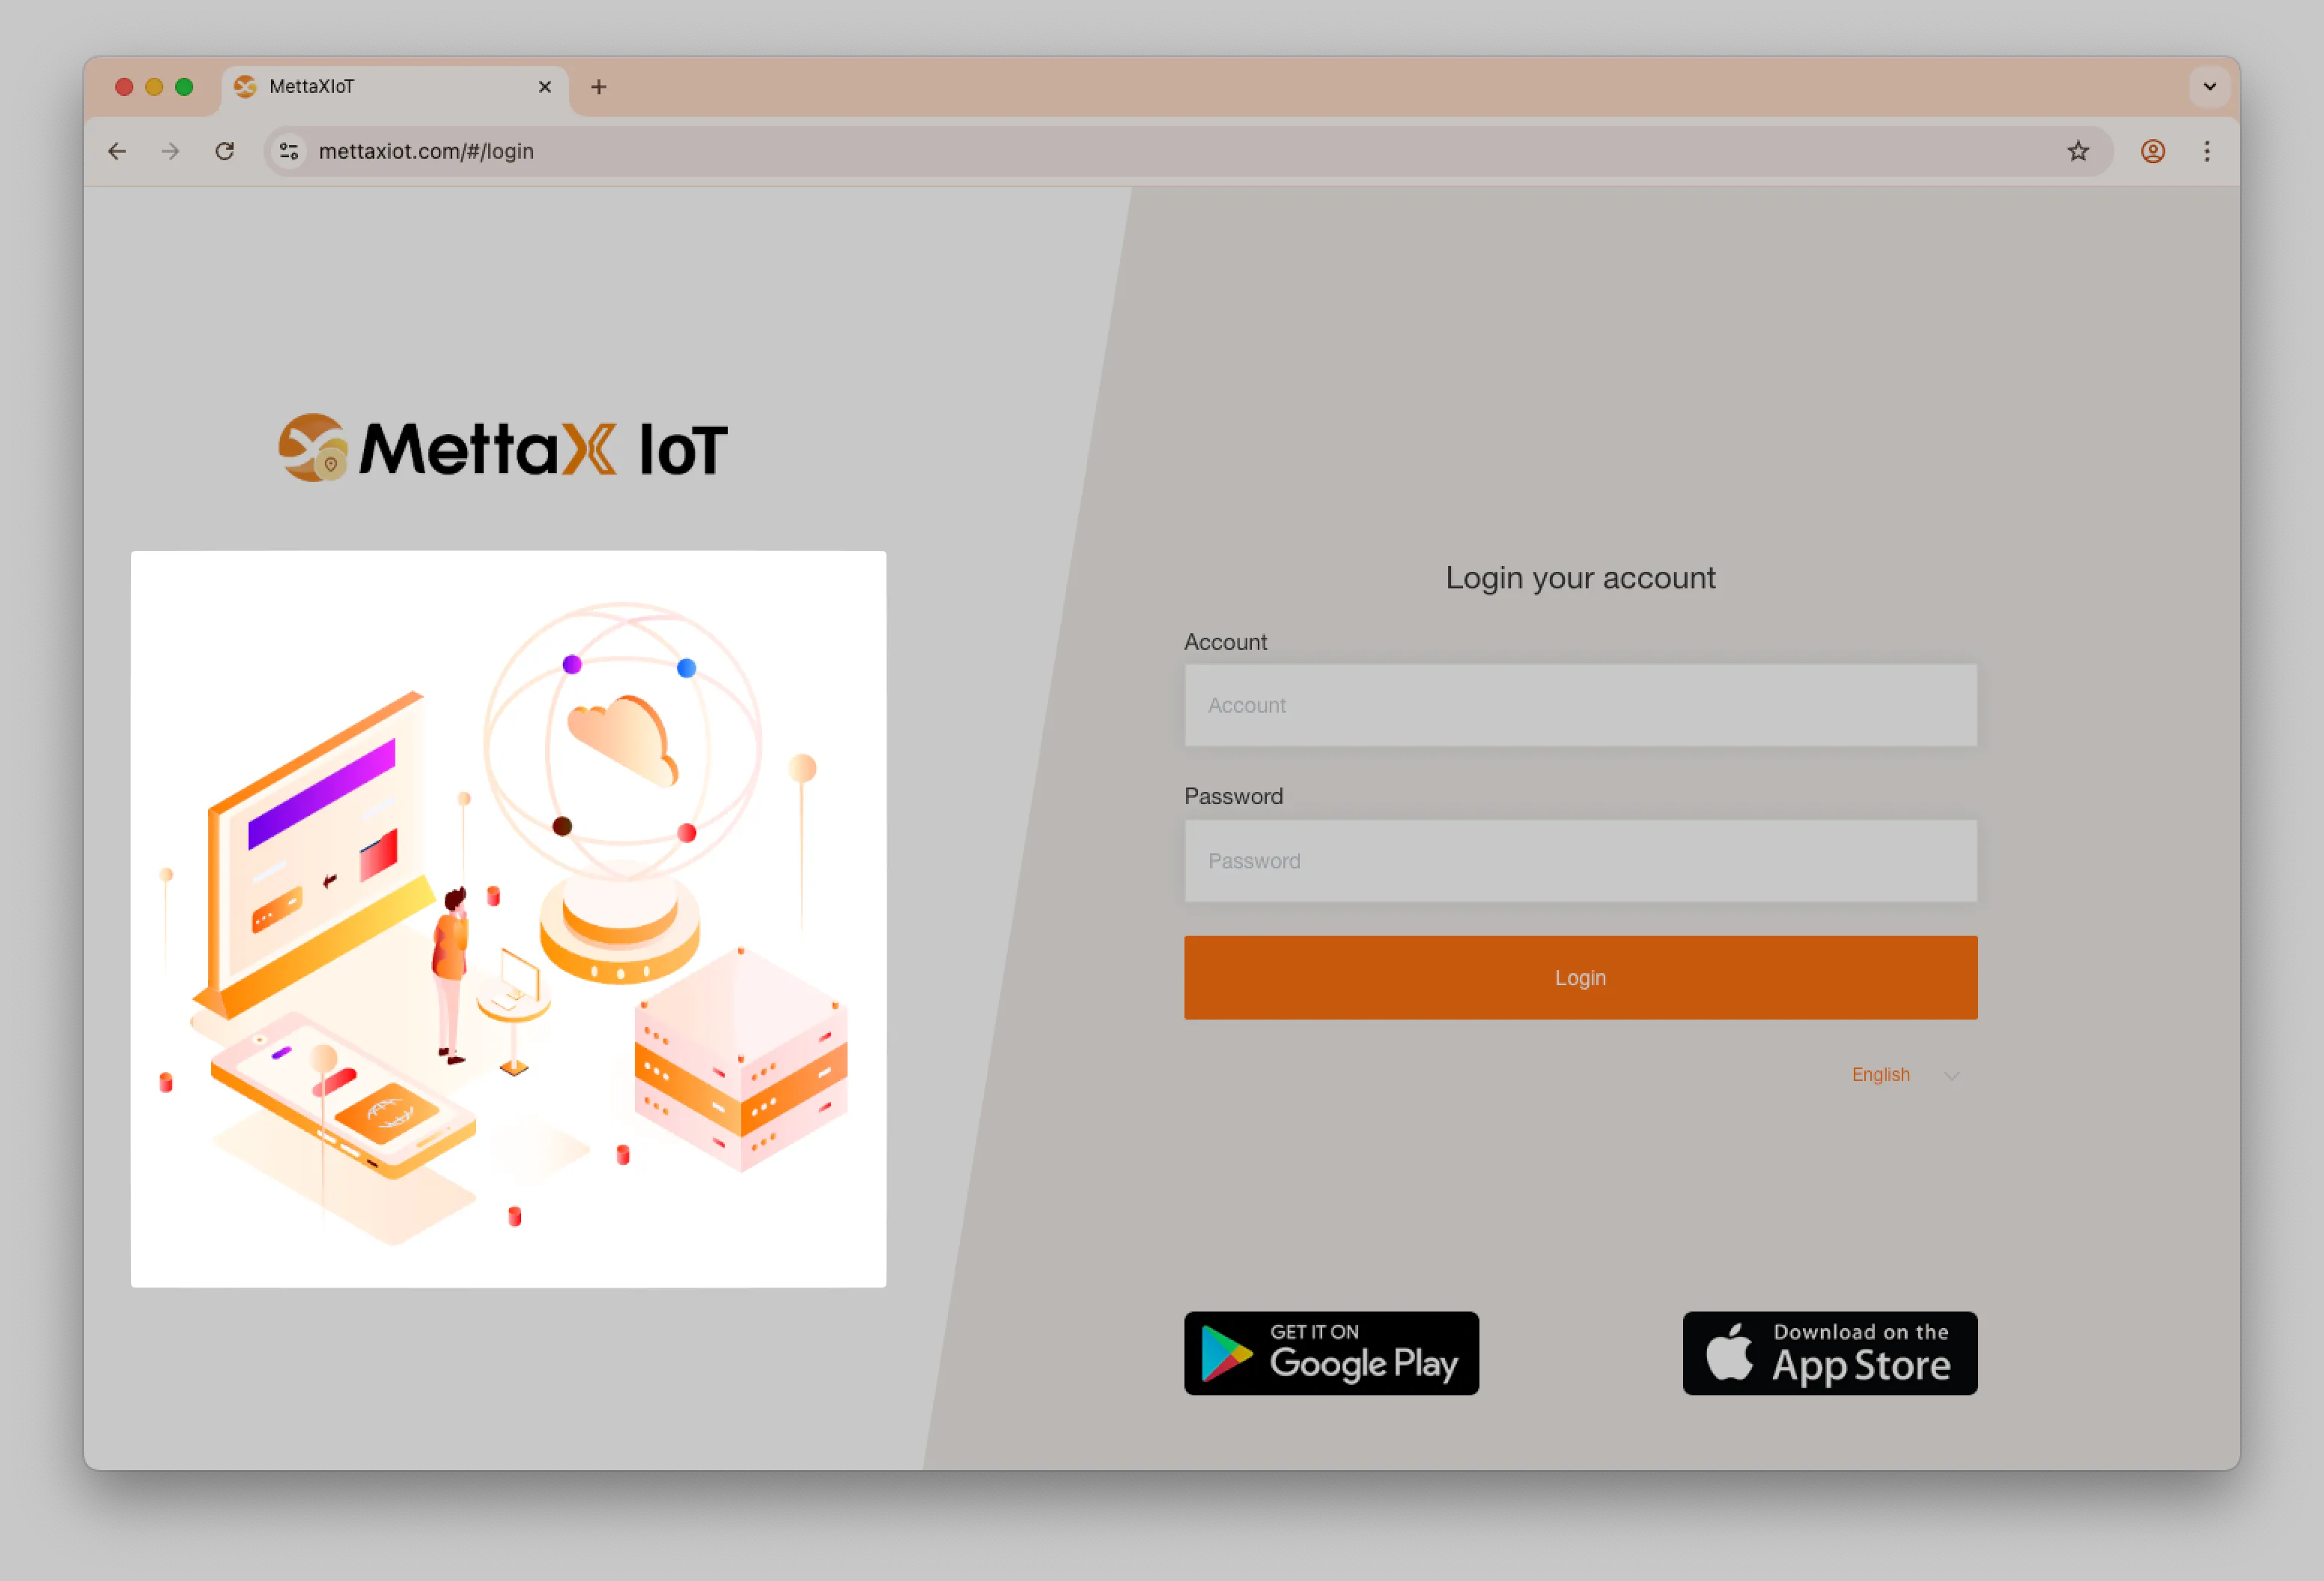
Login Page Image
Section titled “Login Page Image”Upload an image to be displayed on the login page.
| Attribute | Value |
|---|---|
| Format | PNG |
| Dimensions | 460px × 430px |
| Maximum file size | 3MB |
Default Theme Color
Section titled “Default Theme Color”Select a color to match your company’s brand. This color will be applied as the primary theme color across the platform.
Default Menu Color
Section titled “Default Menu Color”Choose between a Light or Dark theme for the menu to align with your visual identity.
Optional Languages
Section titled “Optional Languages”Select the languages that will be available for users to choose from on the platform.

Now platform support the following languages:
- English
- 简体中文
- Русский
- Türkçe
- Español
- Italiano
- Português
- Deutsch
- Français
- عربي
- 日本語
Default Language
Section titled “Default Language”Set the default language for the platform. Users can override this setting in their personal preferences.
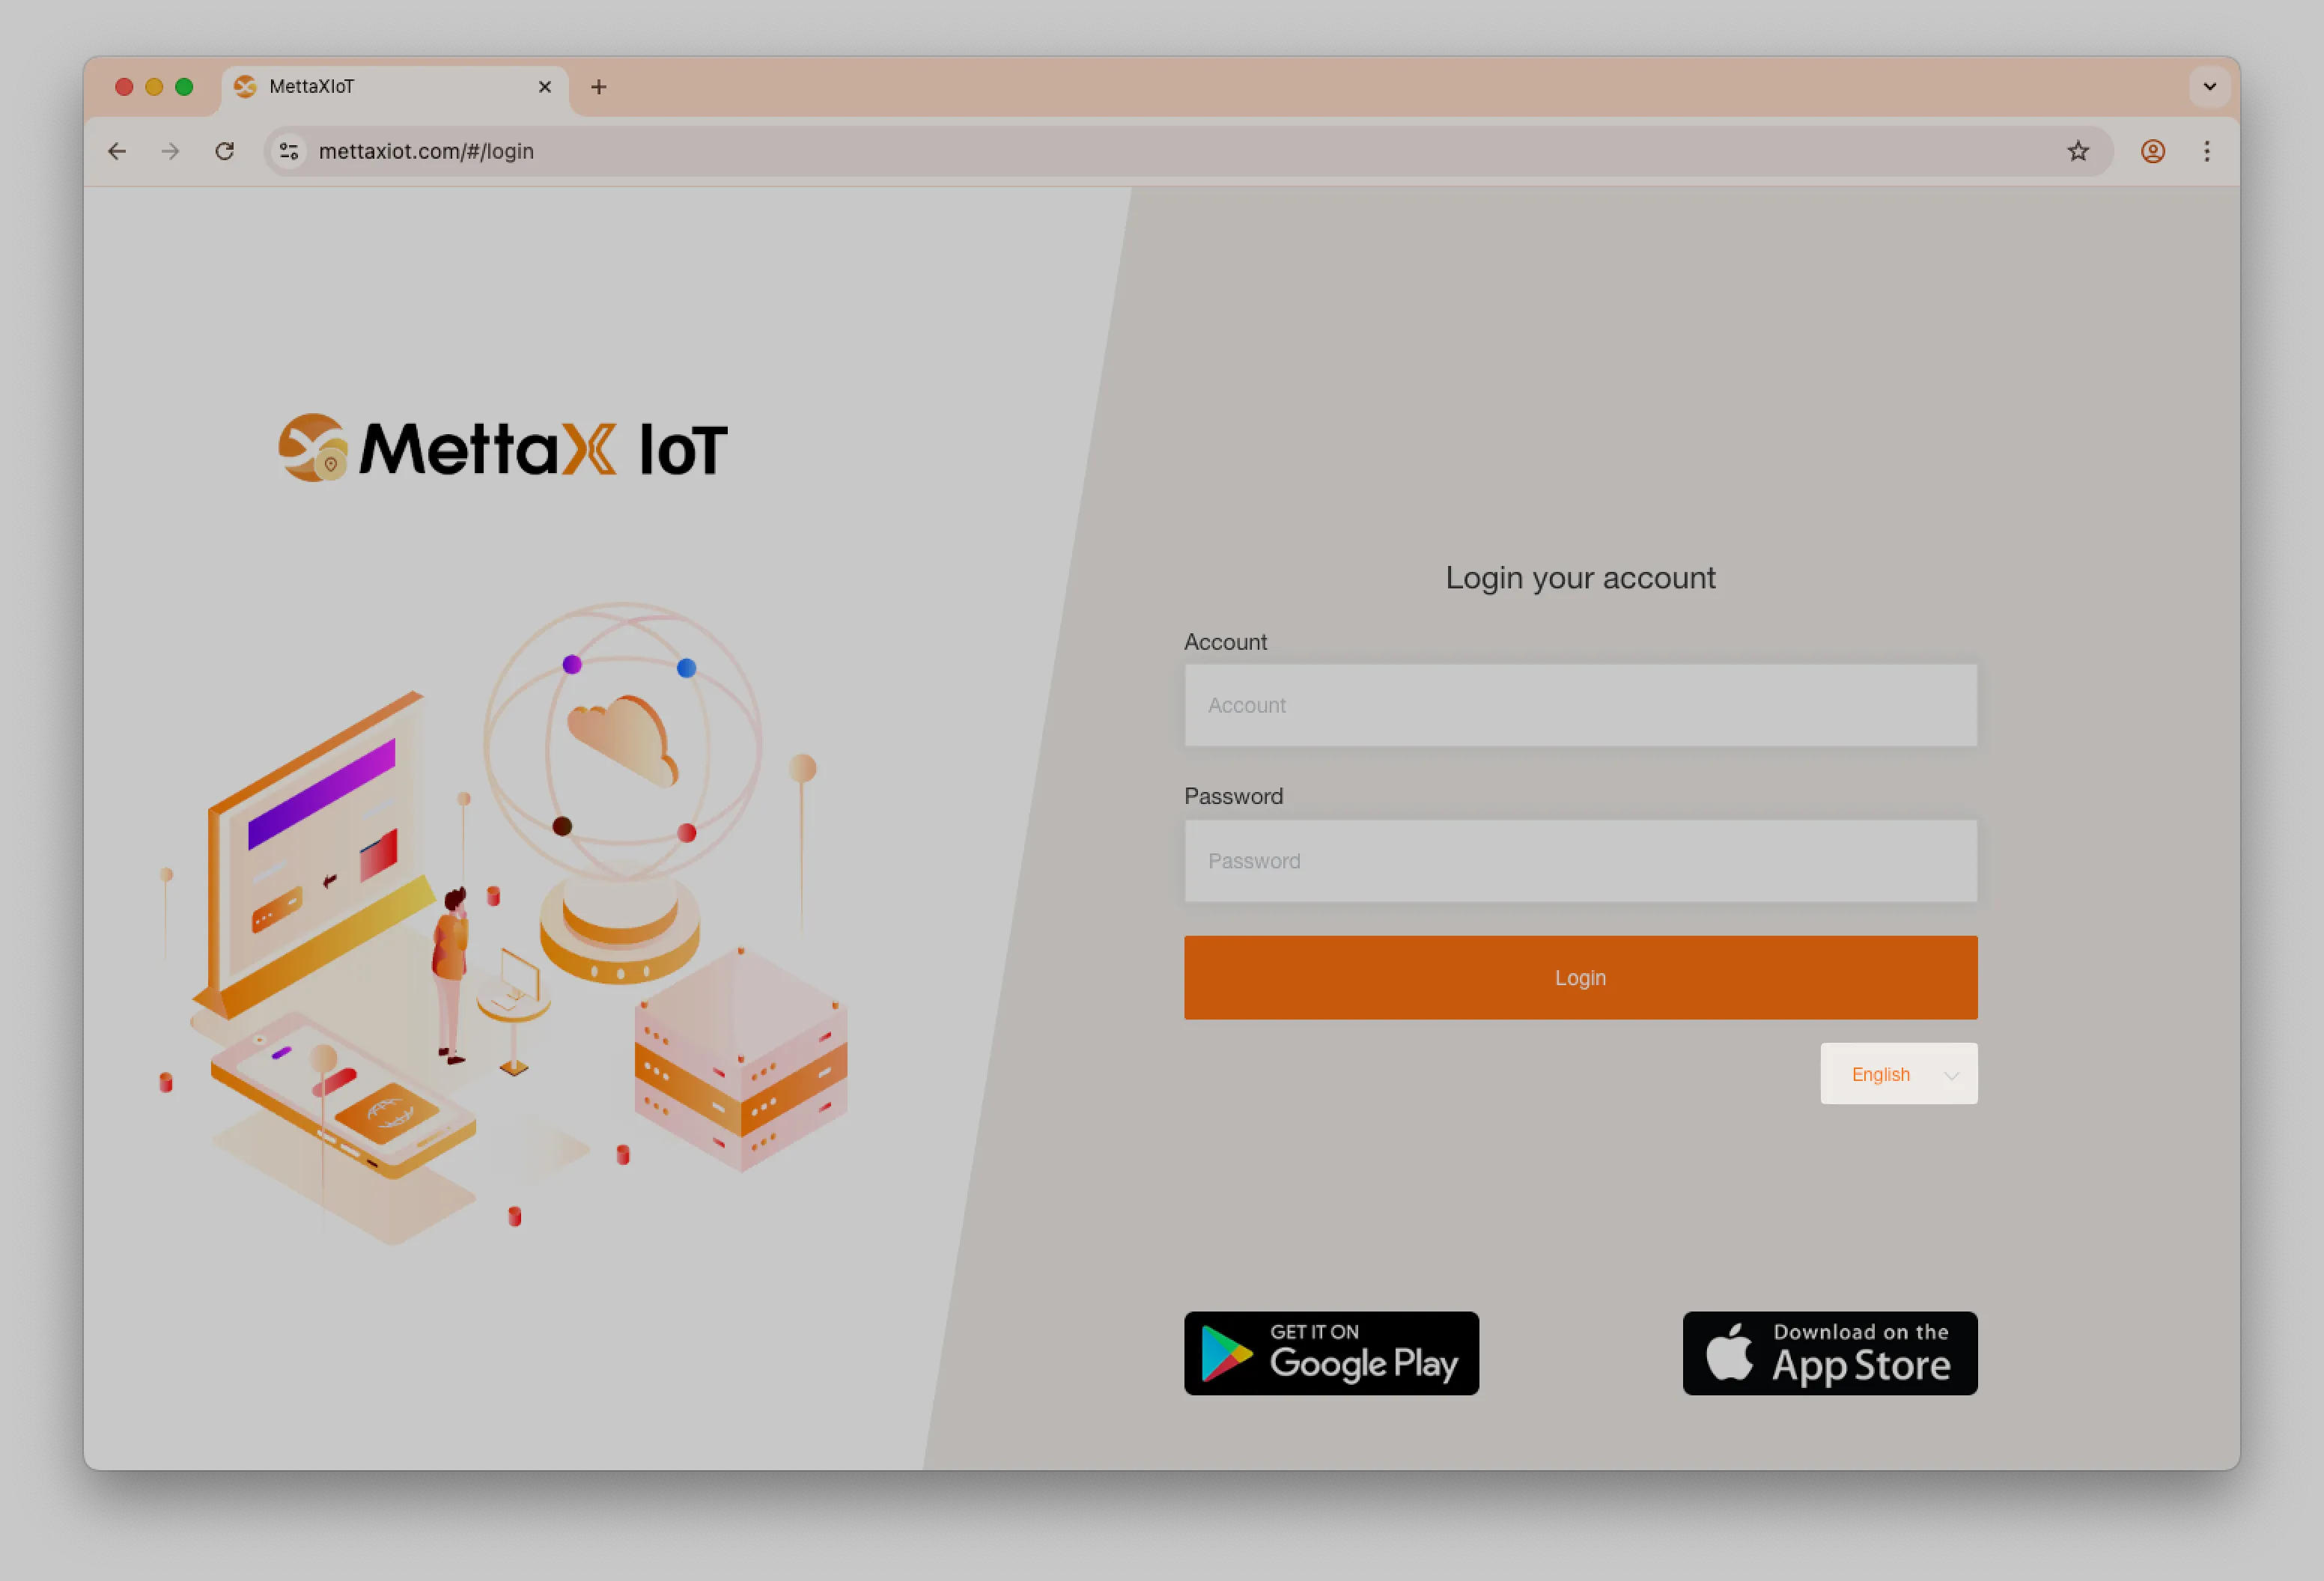
APP Download Badge
Section titled “APP Download Badge”Control whether the APP download badge is displayed on the login page.
![]()
Menu Bar Position
Section titled “Menu Bar Position”Choose the position of the menu bar, either Top or Side.
Customize Branding Information
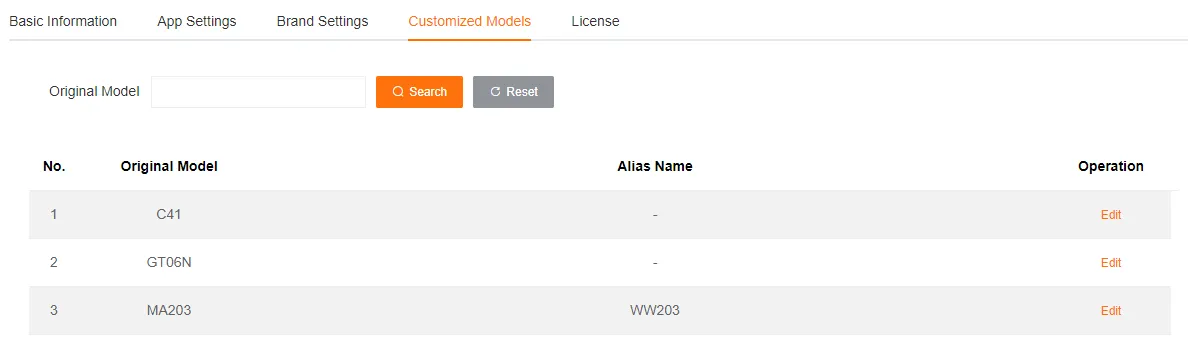
Custom Device Models
Section titled “Custom Device Models”Customers can set exclusive names for different types of devices as needed to more intuitively identify the device type when using the platform.
Data Security
Section titled “Data Security”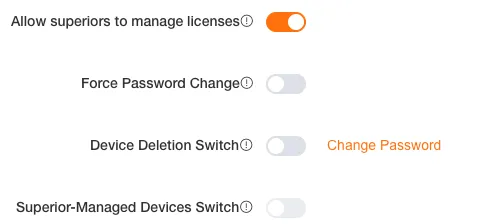
Allow Superior to Manage Licenses
Section titled “Allow Superior to Manage Licenses”When enabled, for customers who have been authorized with superior management license permissions, their superior customers can perform a series of operations such as binding, unbinding, and returning licenses for that customer on the license management page.
Force Password Change
Section titled “Force Password Change”When enabled, all sub-users of this customer must change their password every 30 days to log in.
Device Delete Switch
Section titled “Device Delete Switch”Unlocks the device delete function in device management. When enabled, devices can be manually deleted in batches. A separate password must be set for the first use to ensure operation security. Disabling it disables the delete function.
Superior Manage Device Switch
Section titled “Superior Manage Device Switch”The Superior Manage Device Switch authorizes superior customers to delete devices on their behalf, relying on the Device Delete Switch being enabled first. It takes effect after verifying the delete password, and closing it immediately revokes the permission.