Monitor Console
The Monitor is your central hub for real-time tracking and management of your devices. Here, you can view the live location, historical routes, speed, and other information for your devices, and perform remote operations such as fuel/power control and real-time snapshots. The console also provides a complete set of map tools, including address search, geofencing, and traffic status.
Device List
Section titled “Device List”The device list displays all devices under your account and provides a toolbar for quick filtering and management.
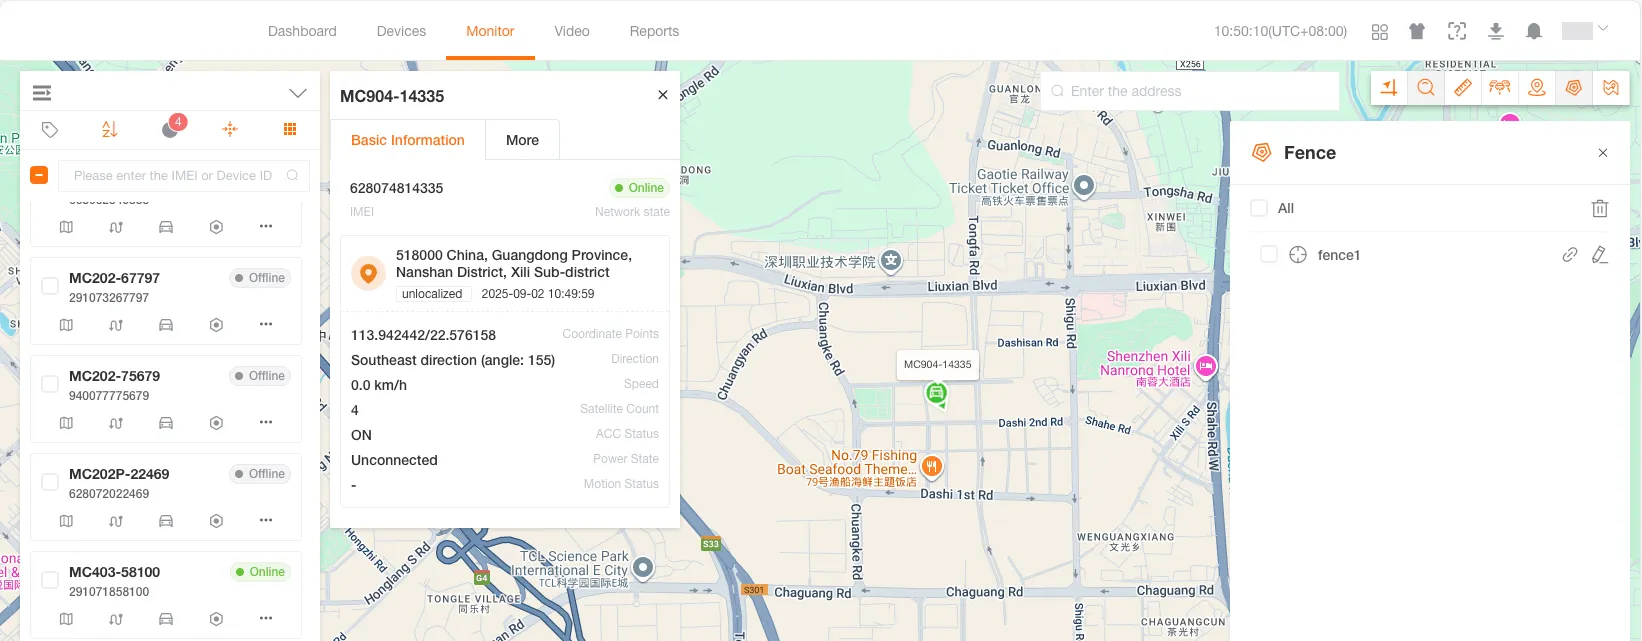
Toolbar
Section titled “Toolbar”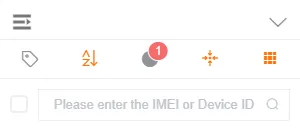
| Icon | Function | Description |
|---|---|---|
| Collapse/Expand | Hide or show the device list. | |
| Label Filter | Filter devices based on preset labels. | |
| Device Sort | Sort devices in ascending or descending order. | |
| Status Filter | Filter devices by online, offline, stand by, or inactive status. | |
| Clustering Mode | Aggregate nearby devices into a number when the map is zoomed out. | |
| MiniMap Toggle | Hide or show all MiniMap tracking windows with one click. |
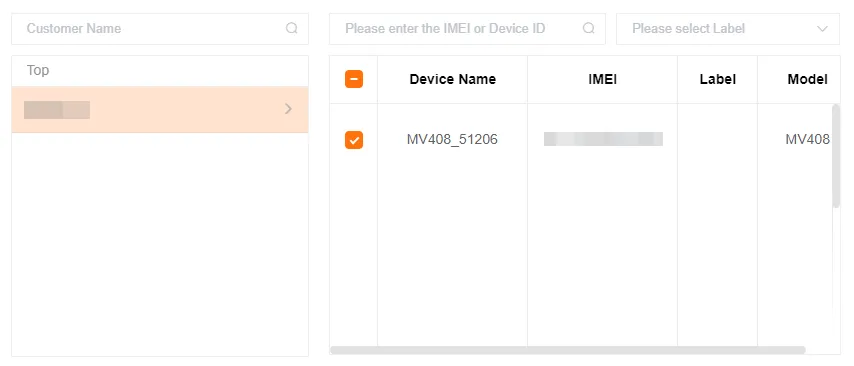
Search Device
Section titled “Search Device”Enter the device’s IMEI in the search box to quickly locate the device you need.
Device Functions
Section titled “Device Functions”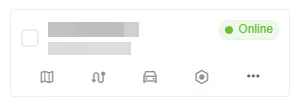
| Icon | Function | Description |
|---|---|---|
| MiniMap Tracking | Open a small map to quickly locate the current device’s position. | |
| Track Playback | Query and replay the historical route of a device within a specific time frame. | |
| Device Details | Edit basic device information. | |
| Device Commands | Send commands to the device for remote configuration and operation. | |
| More Monitoring Device Abilities | More abilities for monitoring devices. |
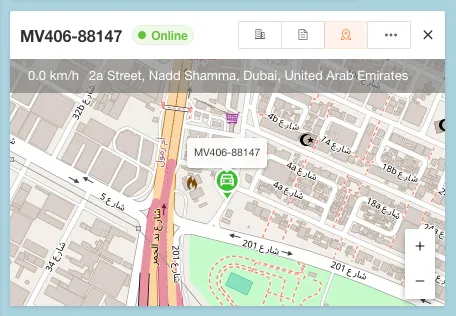
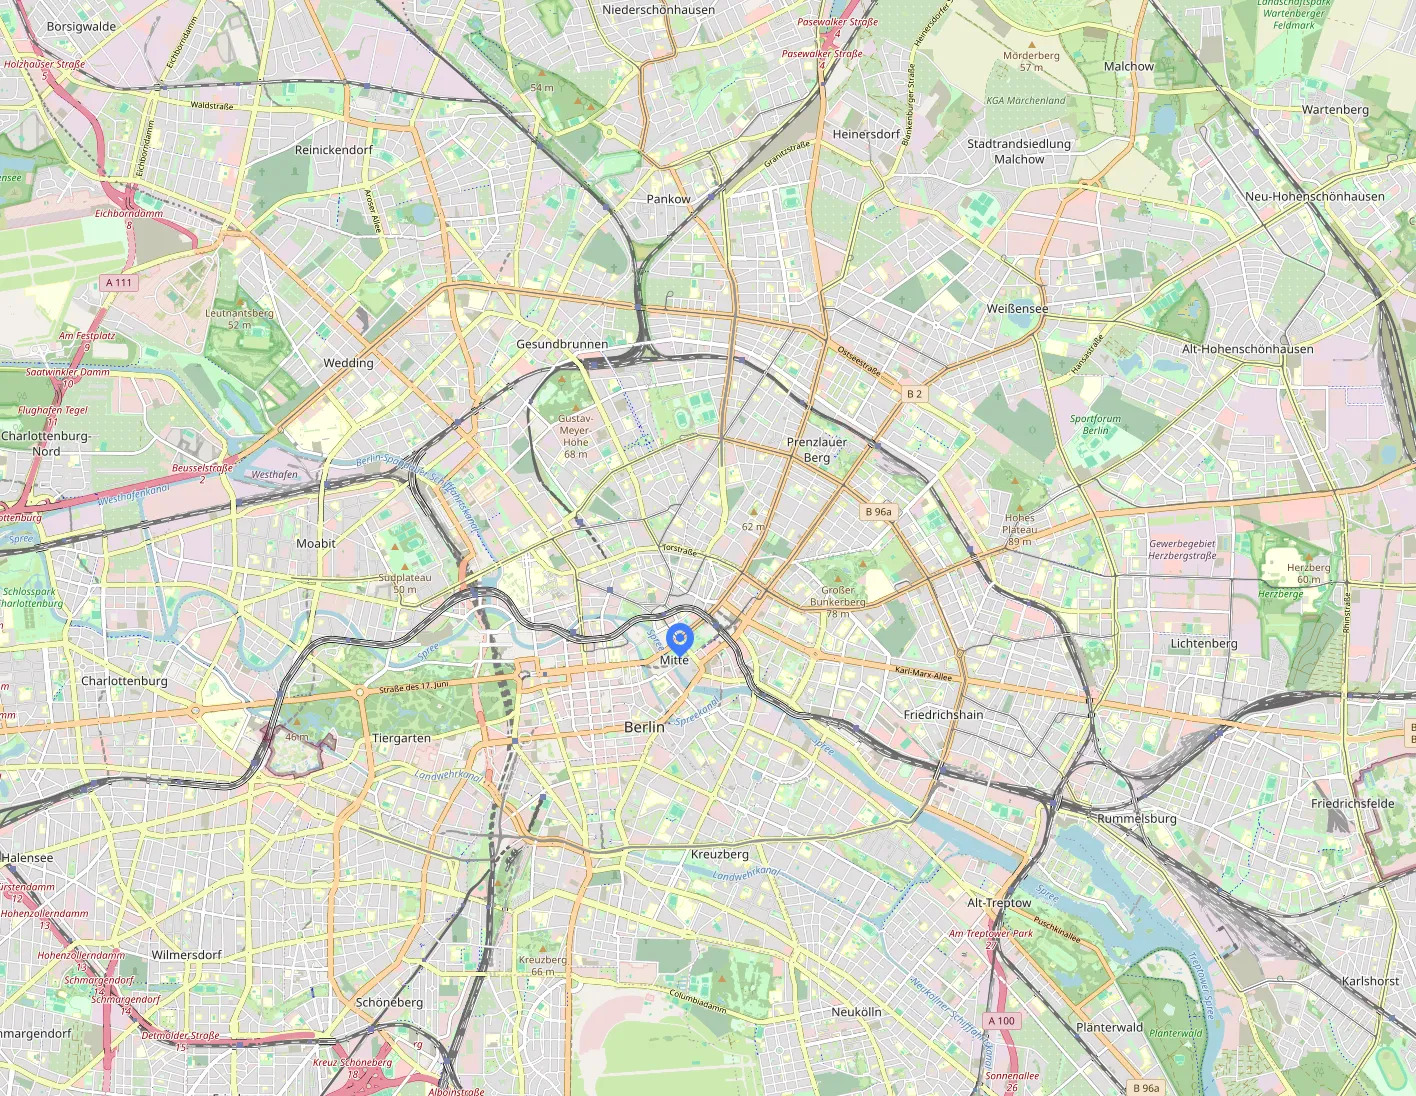
Map Monitoring
Section titled “Map Monitoring”After checking a device in the device list, its location and information will be displayed on the map.
Device Status
Section titled “Device Status”The color of the device’s icon on the map indicates its current status.
LBS/Wi-Fi Positioning
Section titled “LBS/Wi-Fi Positioning”| Icon | Status | Color | Condition |
|---|---|---|---|
| Online | Green | Positioning successful | |
| Offline | Black | Positioning failed |
GPS Positioning (Segmented by ACC)
Section titled “GPS Positioning (Segmented by ACC)”| Icon | Status | Color | Condition |
|---|---|---|---|
| Moving | Green | Speed ≥ 5 km/h and ACC is ON | |
| Idling | Orange | Speed < 5 km/h and ACC is ON | |
| Stationary | Red | Speed < 5 km/h and ACC is OFF | |
| Offline | Black | Device not connected to the platform |
GPS Positioning (Segmented by Speed)
Section titled “GPS Positioning (Segmented by Speed)”| Icon | Status | Color | Condition |
|---|---|---|---|
| Moving | Green | Speed ≥ 5 km/h | |
| Stationary | Red | Speed < 5 km/h | |
| Offline | Black | Device not connected to the platform |
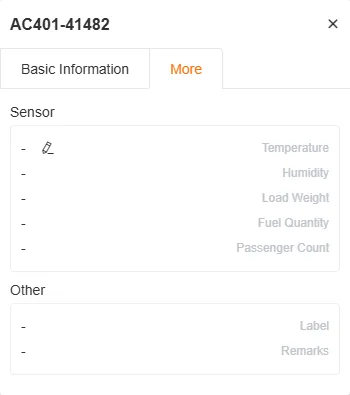
Device Information
Section titled “Device Information”Clicking on a device icon on the map will open an information window with basic and additional information.
Basic Information
Section titled “Basic Information”Displays key information such as IMEI, status, address, positioning time, speed, and ACC status.
More Information
Section titled “More Information”Displays sensor data (e.g., temperature, fuel level), extended information (e.g., engine speed, total fuel consumption), and device labels and remarks.
MiniMap Tracking
Section titled “MiniMap Tracking”You can open MiniMap tracking windows for one or more devices.The MiniMap continuously displays the latest position of the device and draws its route on the map.
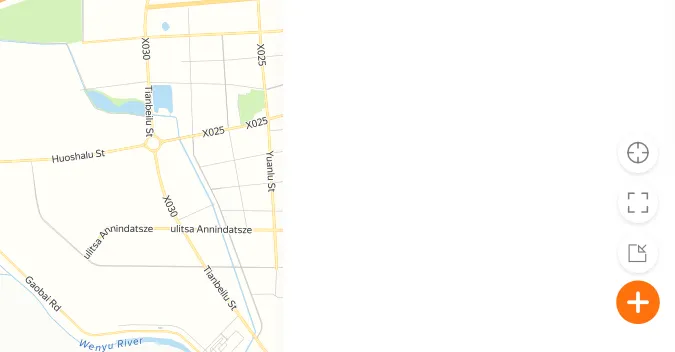
Map Tools
Section titled “Map Tools”The map toolbar provides a series of functions to enhance your map monitoring experience.
![]()
Address Search
Section titled “Address Search”Enter an address or place name to search, and the map will automatically locate that area.

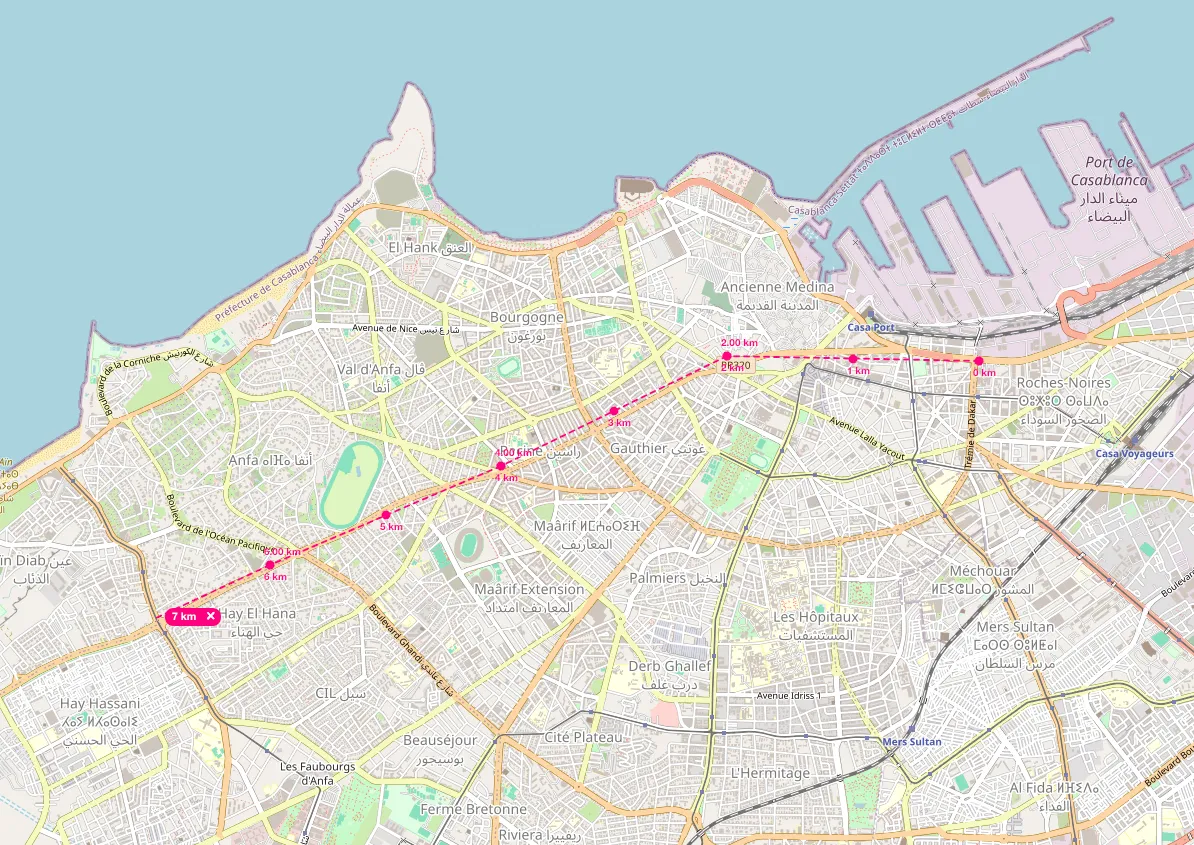
Measure Distance
Section titled “Measure Distance”Click multiple points on the map in sequence to measure the straight-line distance between them.
Route Correction
Section titled “Route Correction”Snaps the device’s location points to the nearest road to correct the route.
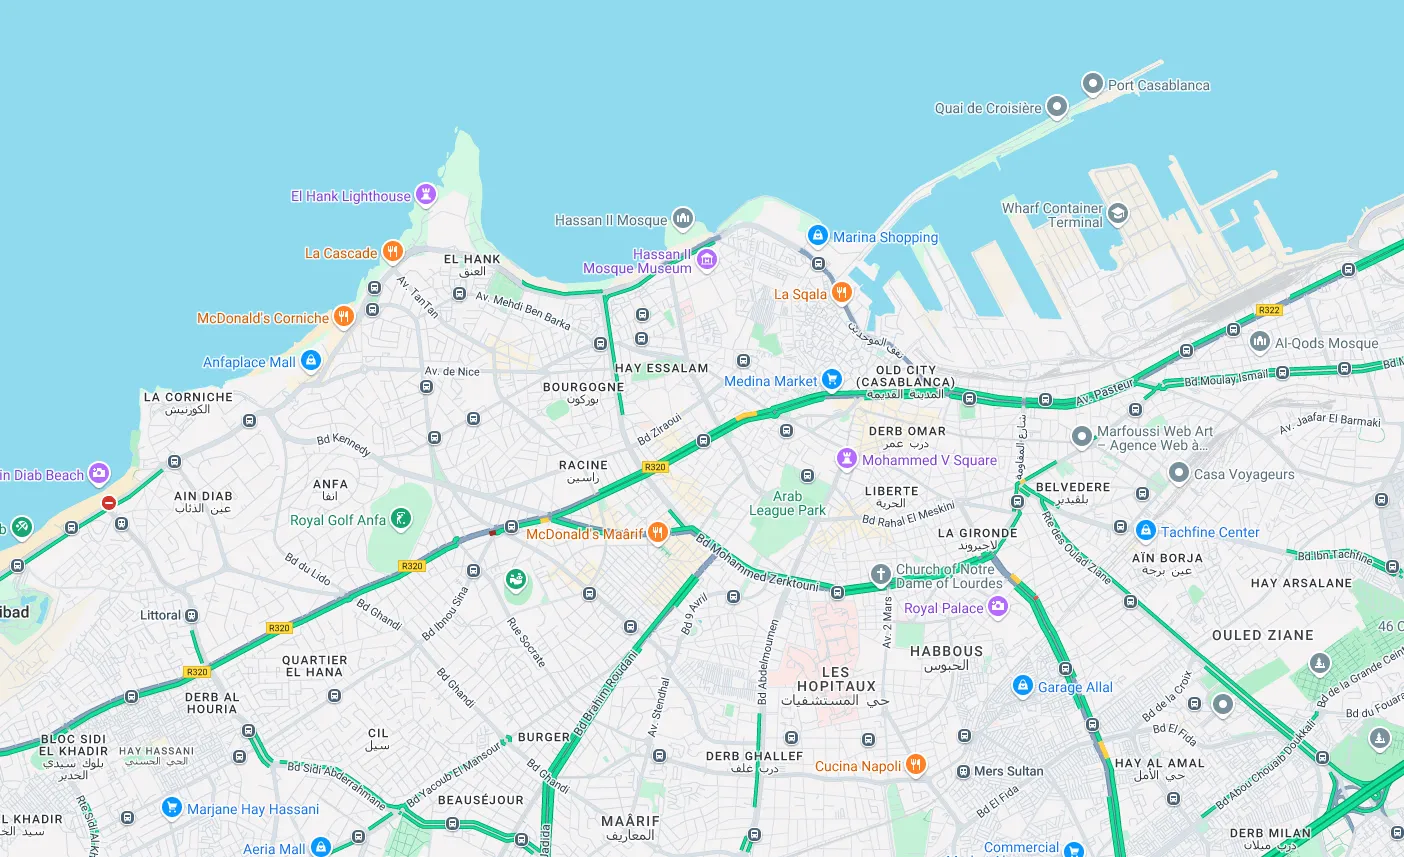
Real-time Traffic
Section titled “Real-time Traffic”Overlays a real-time traffic layer, using colors to distinguish the congestion level of roads.
Current Location
Section titled “Current Location”Locates and displays your current position on the map.
Geofence
Section titled “Geofence”Geofences allow you to define virtual boundaries on the map. You can view the list of geofences or create new ones.
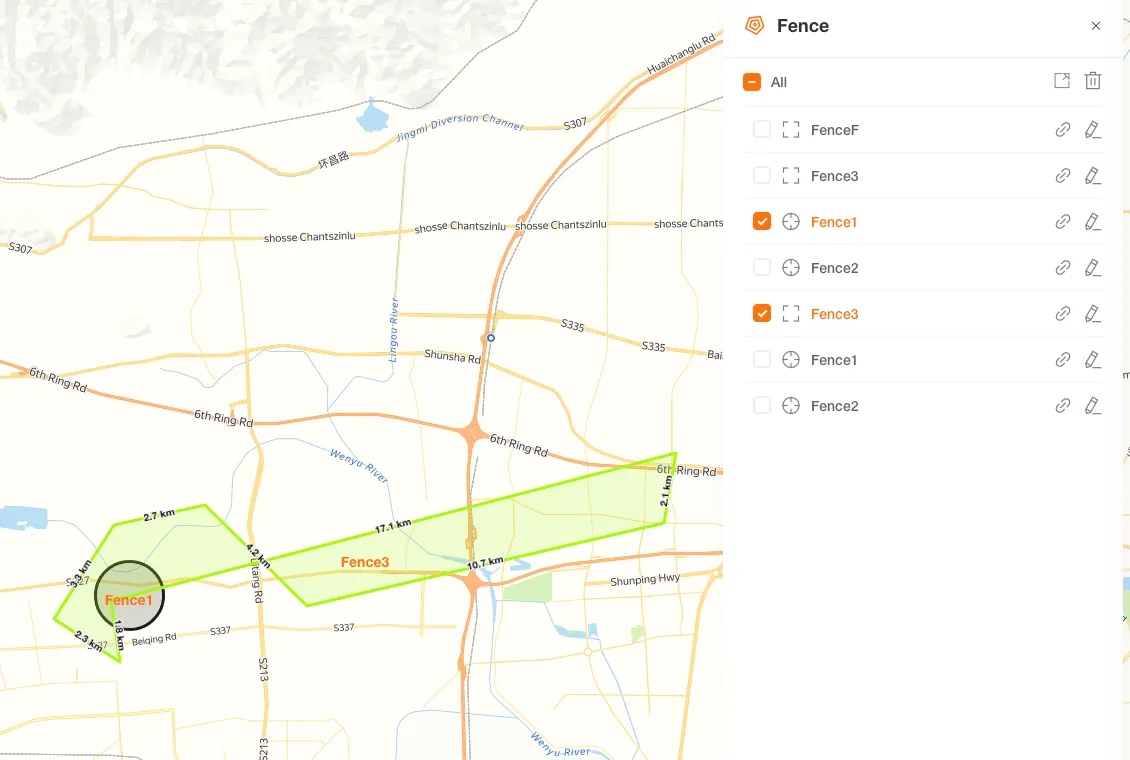
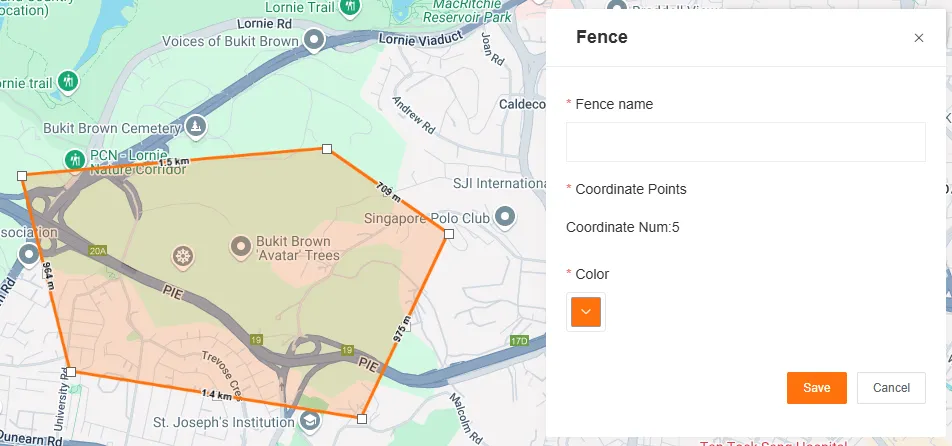
Create and Edit Geofences
Section titled “Create and Edit Geofences”-
Select Geofence Type
In the geofence panel, choose to create a Circle or Polygon geofence.
-
Draw on the Map
To draw a Circle, click and drag to define the center and radius.
To draw a Polygon, click at least three points in sequence to form a closed area.
Drag the main body of the geofence to move its position.
Drag the control points on the edge to resize it.
-
Edit Geofence Properties
Set the name and color of the geofence.

-
Associate Devices
After saving the geofence, select one or more devices to associate with it.
Import and Export Geofences
Section titled “Import and Export Geofences”-
Bulk Import Geofences
Users can click the Import button on the system interface to select and upload a locally stored JSON or KML format file exported from this system. After the upload is complete, the system will automatically parse the file content and complete the bulk import of geofence information.

-
Bulk Export Geofences
In the geofence management panel, users can check one or more geofences that need to be exported according to actual needs. After checking, click the Export button, and you can choose JSON or KML format. The system will generate a file containing the detailed information of the selected geofences and automatically save it to the user’s local computer.

Map Switcher
Section titled “Map Switcher”You can switch between multiple map providers to meet different visualization needs.
| Map Service | Supported Views |
|---|---|
| OpenStreet (Default) | Street |
| Google Maps | Street, Terrain, Satellite, Hybrid, Traffic |
| 2Gis | Street |
| Yandex | Map, Satellite |
| Wiki Mapia | Street |
| Arc GIS | Street |
| Cosmo | Satellite |